6) Print!
First things first, though. Let's click that hyperlink under the Label Name
and Lines boxes to select a printer and a non-proportional-space font.
You do this the very first time you print, and then only when you want to change printers and/or fonts.
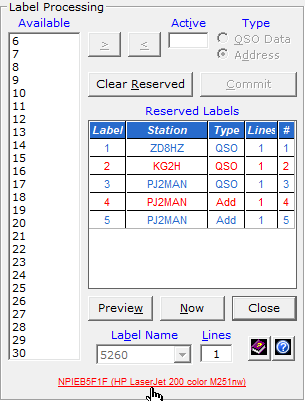
Then let's click the Preview button to perform a print preview.
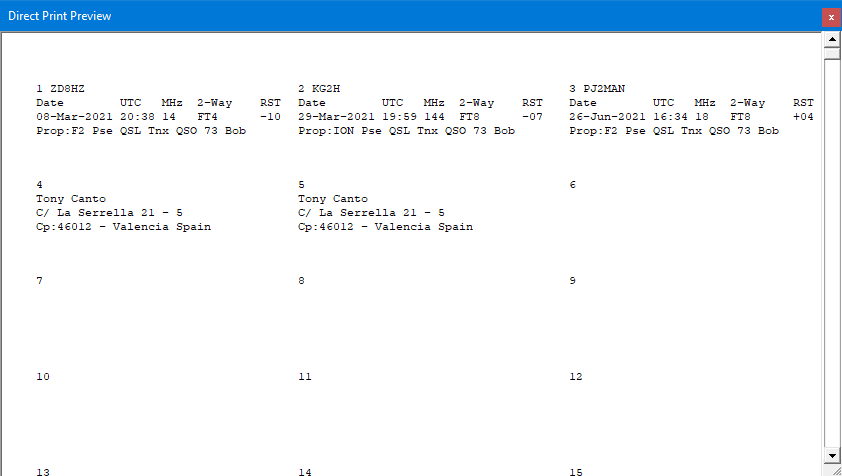
What we're looking for in Print Preview are Closing Expression
lines on QSL labels that are too long and bleed into adjacent labels.
Ditto for the lines of address labels.
But everything looks good here!
However, if we had seen labels in need of editing, we would have right-clicked the offending label
in the Reserved Labels list ...
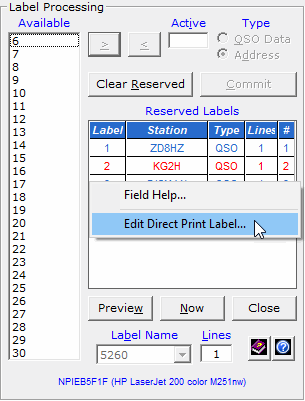
Clicked Edit Direct Print Label on the shortcut menu.
And then made the necessary changes.
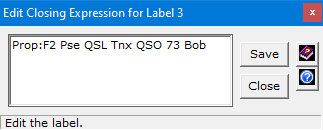
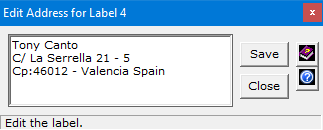
There's an edit box for address labels, too.
If you need to make changes to the QSO data, you can carefully edit the
raw data of Direct Print QSL labels in Notepad. A menu item gets you started;
instructions appear in the Help.

Home |
Checking DX Spots |
Adding the Log Entry and Automatically Uploading to LoTW |
Using JT Log Entry Processing
Using the Outgoing QSL Web Service |
Creating QSL and Address Labels |
Printing QSL and Address Labels |
Capturing an Improv Image
Managing Paper QSLs |
Managing LoTW QSLs |
Monitoring Performance |
Analyzing Your DXCC Status |
Other Fine Features |
Implementation and More
Click Here to Return Home